Getting Started
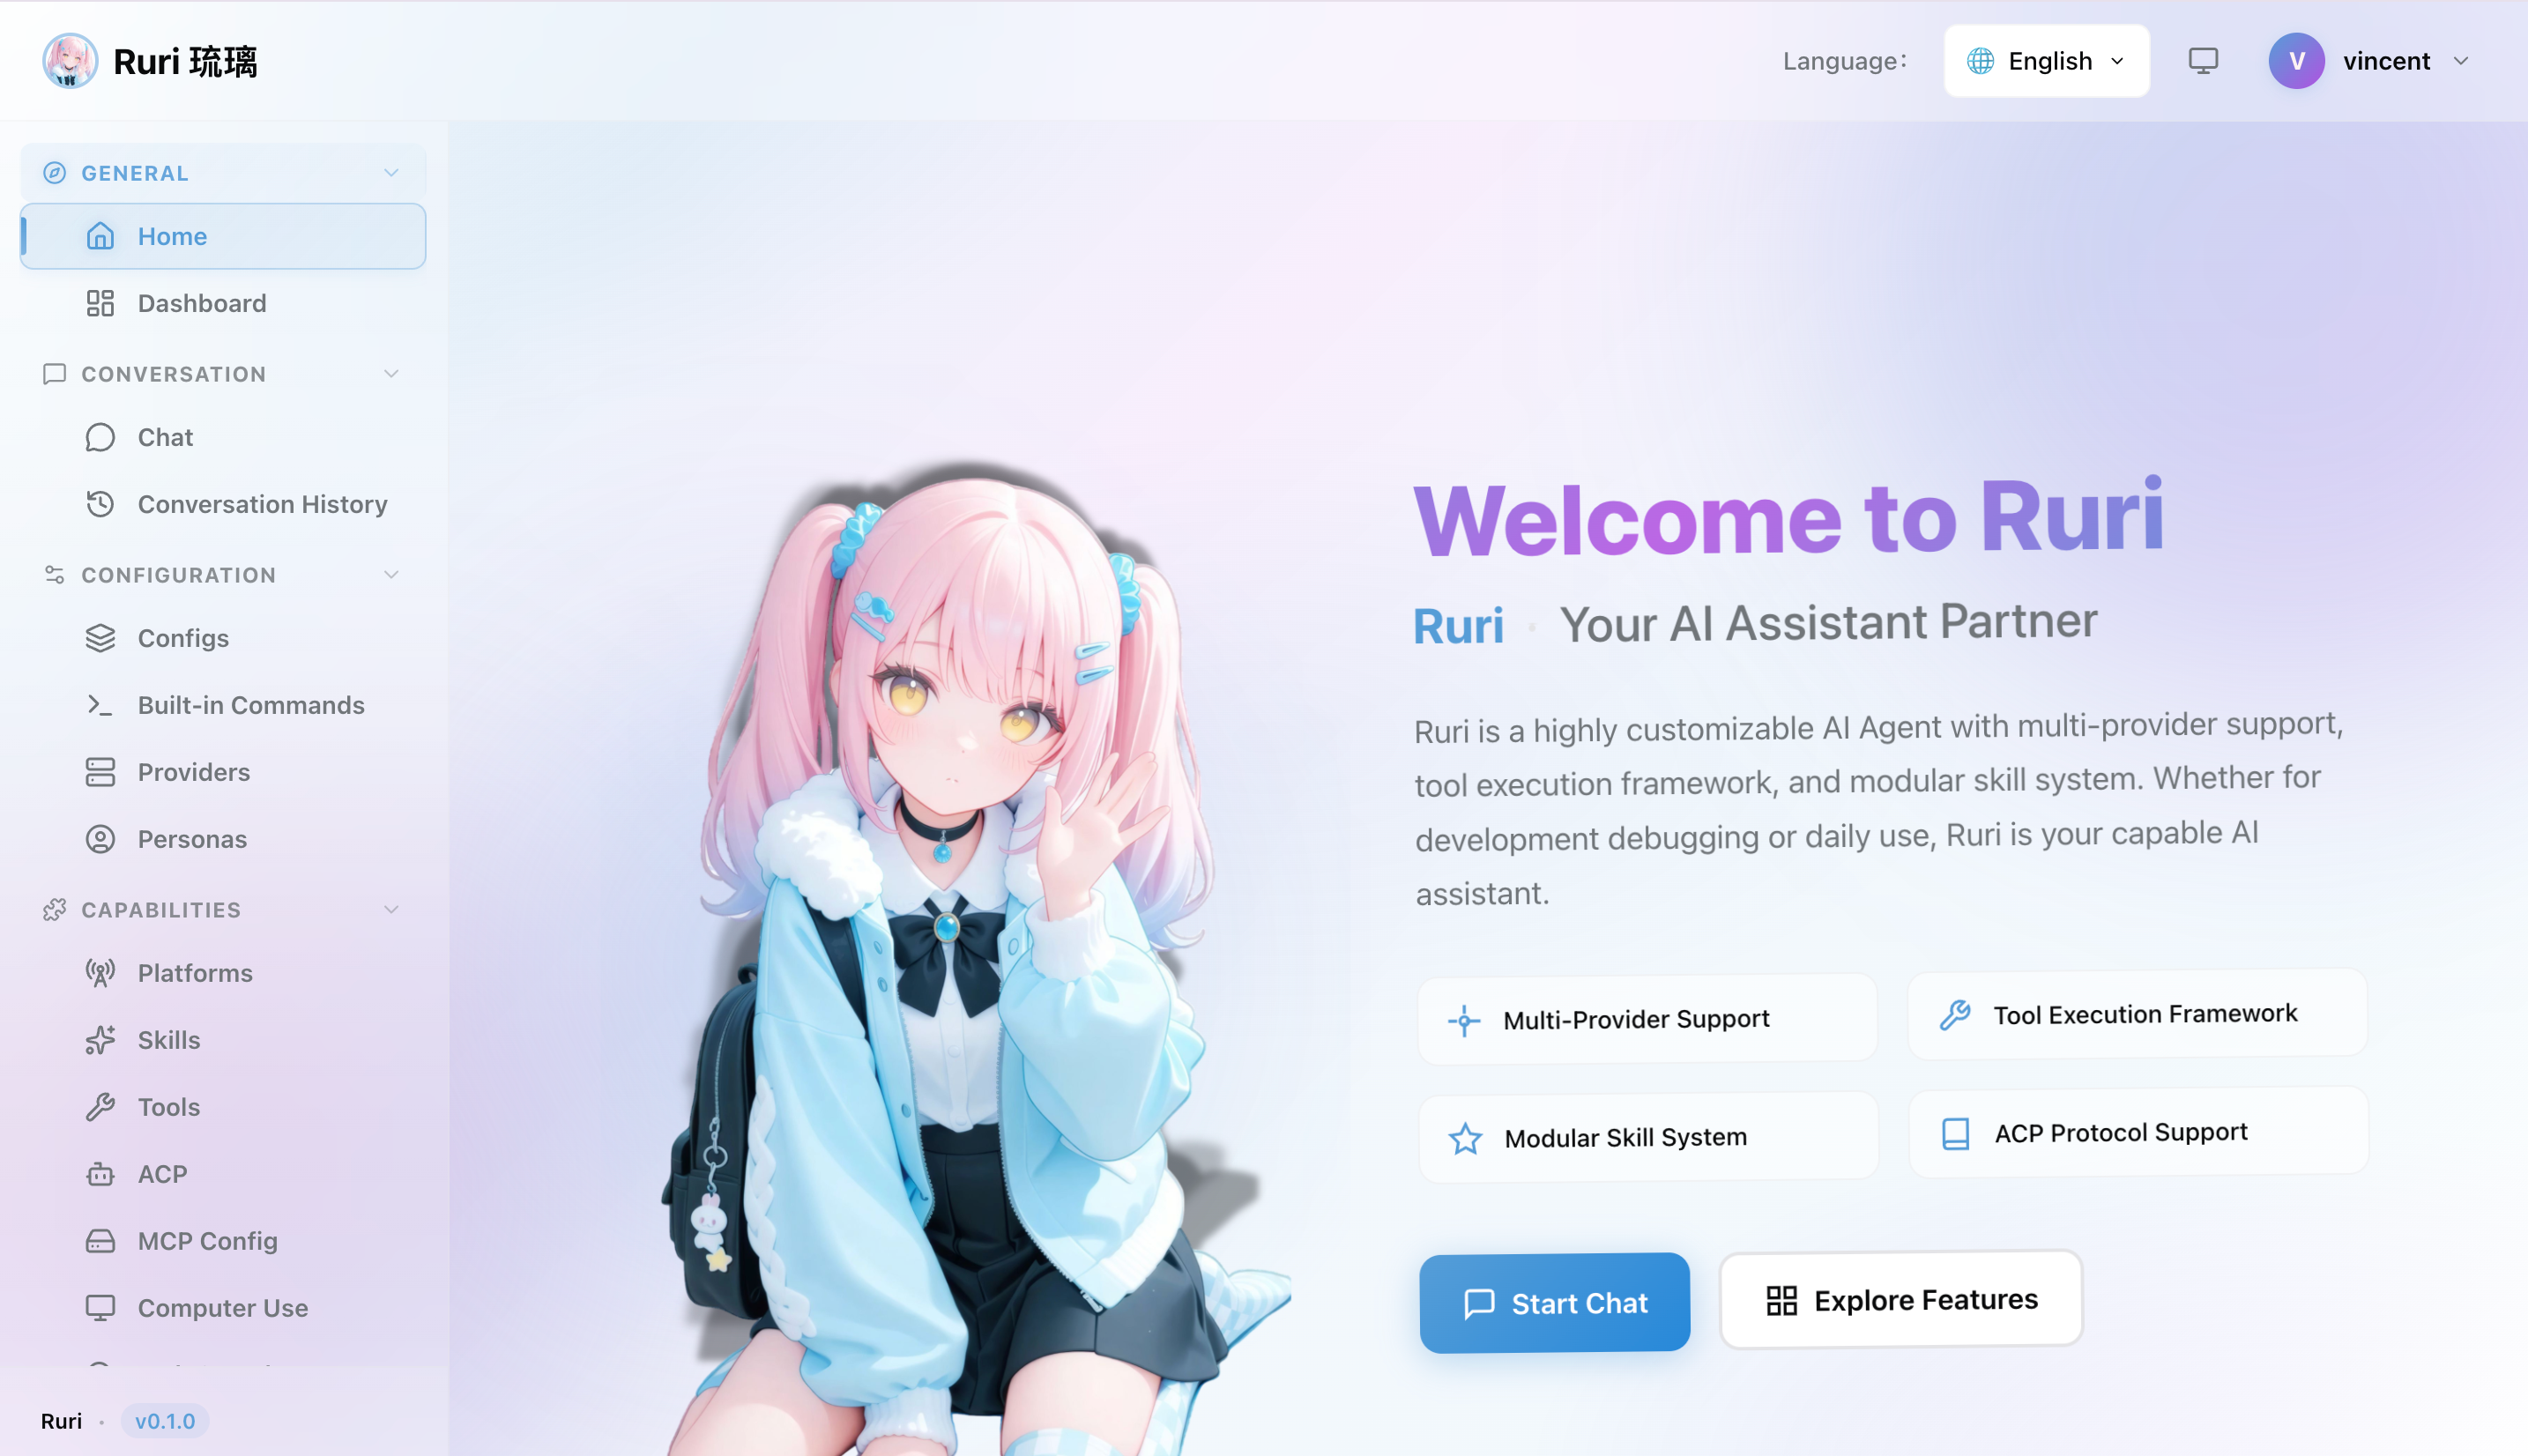
Welcome to Ruri 琉璃 — your personal AI assistant that lives in your browser. Powerful, private, and endlessly customizable.
What Can Ruri Do?
Ruri is more than just a chatbot. Here's what you can do with it:
- Chat with AI models — Connect to OpenAI, Anthropic, DeepSeek, or run models locally with Ollama
- Read and write files — The AI can browse your project files, edit code, and create new files
- Search the web — Let the AI look things up online to give you better answers
- Run commands — With Computer Use enabled, the AI can execute shell commands, run builds, and more
- Build a knowledge base — Upload your documents and let the AI search through them for answers
- Create custom skills — Teach the AI new tricks with simple Markdown files
- Connect to chat platforms — Use Ruri through DingTalk, Discord, or WeChat
- Use it in your IDE — Connect Ruri to Zed or JetBrains as an AI coding assistant
Sound exciting? Let's get you set up!
Prerequisites
Before installing Ruri, make sure you have:
- An API key from an AI model provider (like OpenAI, Anthropic, or DeepSeek) — or install Ollama for free local models
Installation
- Download the latest release from GitHub Releases
- Extract the archive to a folder of your choice
- Add Ruri to your PATH so you can run it from anywhere (or navigate to the folder and run it directly)
- Start the server by running
ruriin your terminal
# Show help
ruri -h
# Basic run
ruri
# Default port is 3000
ruri --port 8080
# Remote access, expose the server to the internet
ruri --remote
That's it! The server starts along with the Web UI automatically.
First Launch
Step 1: Log In
Open your browser and go to:
http://localhost:3000Log in with the default credentials:
| Field | Default Value |
|---|---|
| Username | ruri |
| Password | ruri |
警告
You'll be prompted to change your password on first login. Choose a strong password to keep your instance secure!
Step 2: Add a Model Provider
Before you can start chatting, you need to configure at least one AI model provider:
- Go to the Providers page in the sidebar
- Click Add Provider
- Choose a provider type (e.g., OpenAI Compatible)
- Enter your API URL, API key, and model name
- Click Save, then Activate the provider
See the Model Providers page for step-by-step setup guides for popular providers.
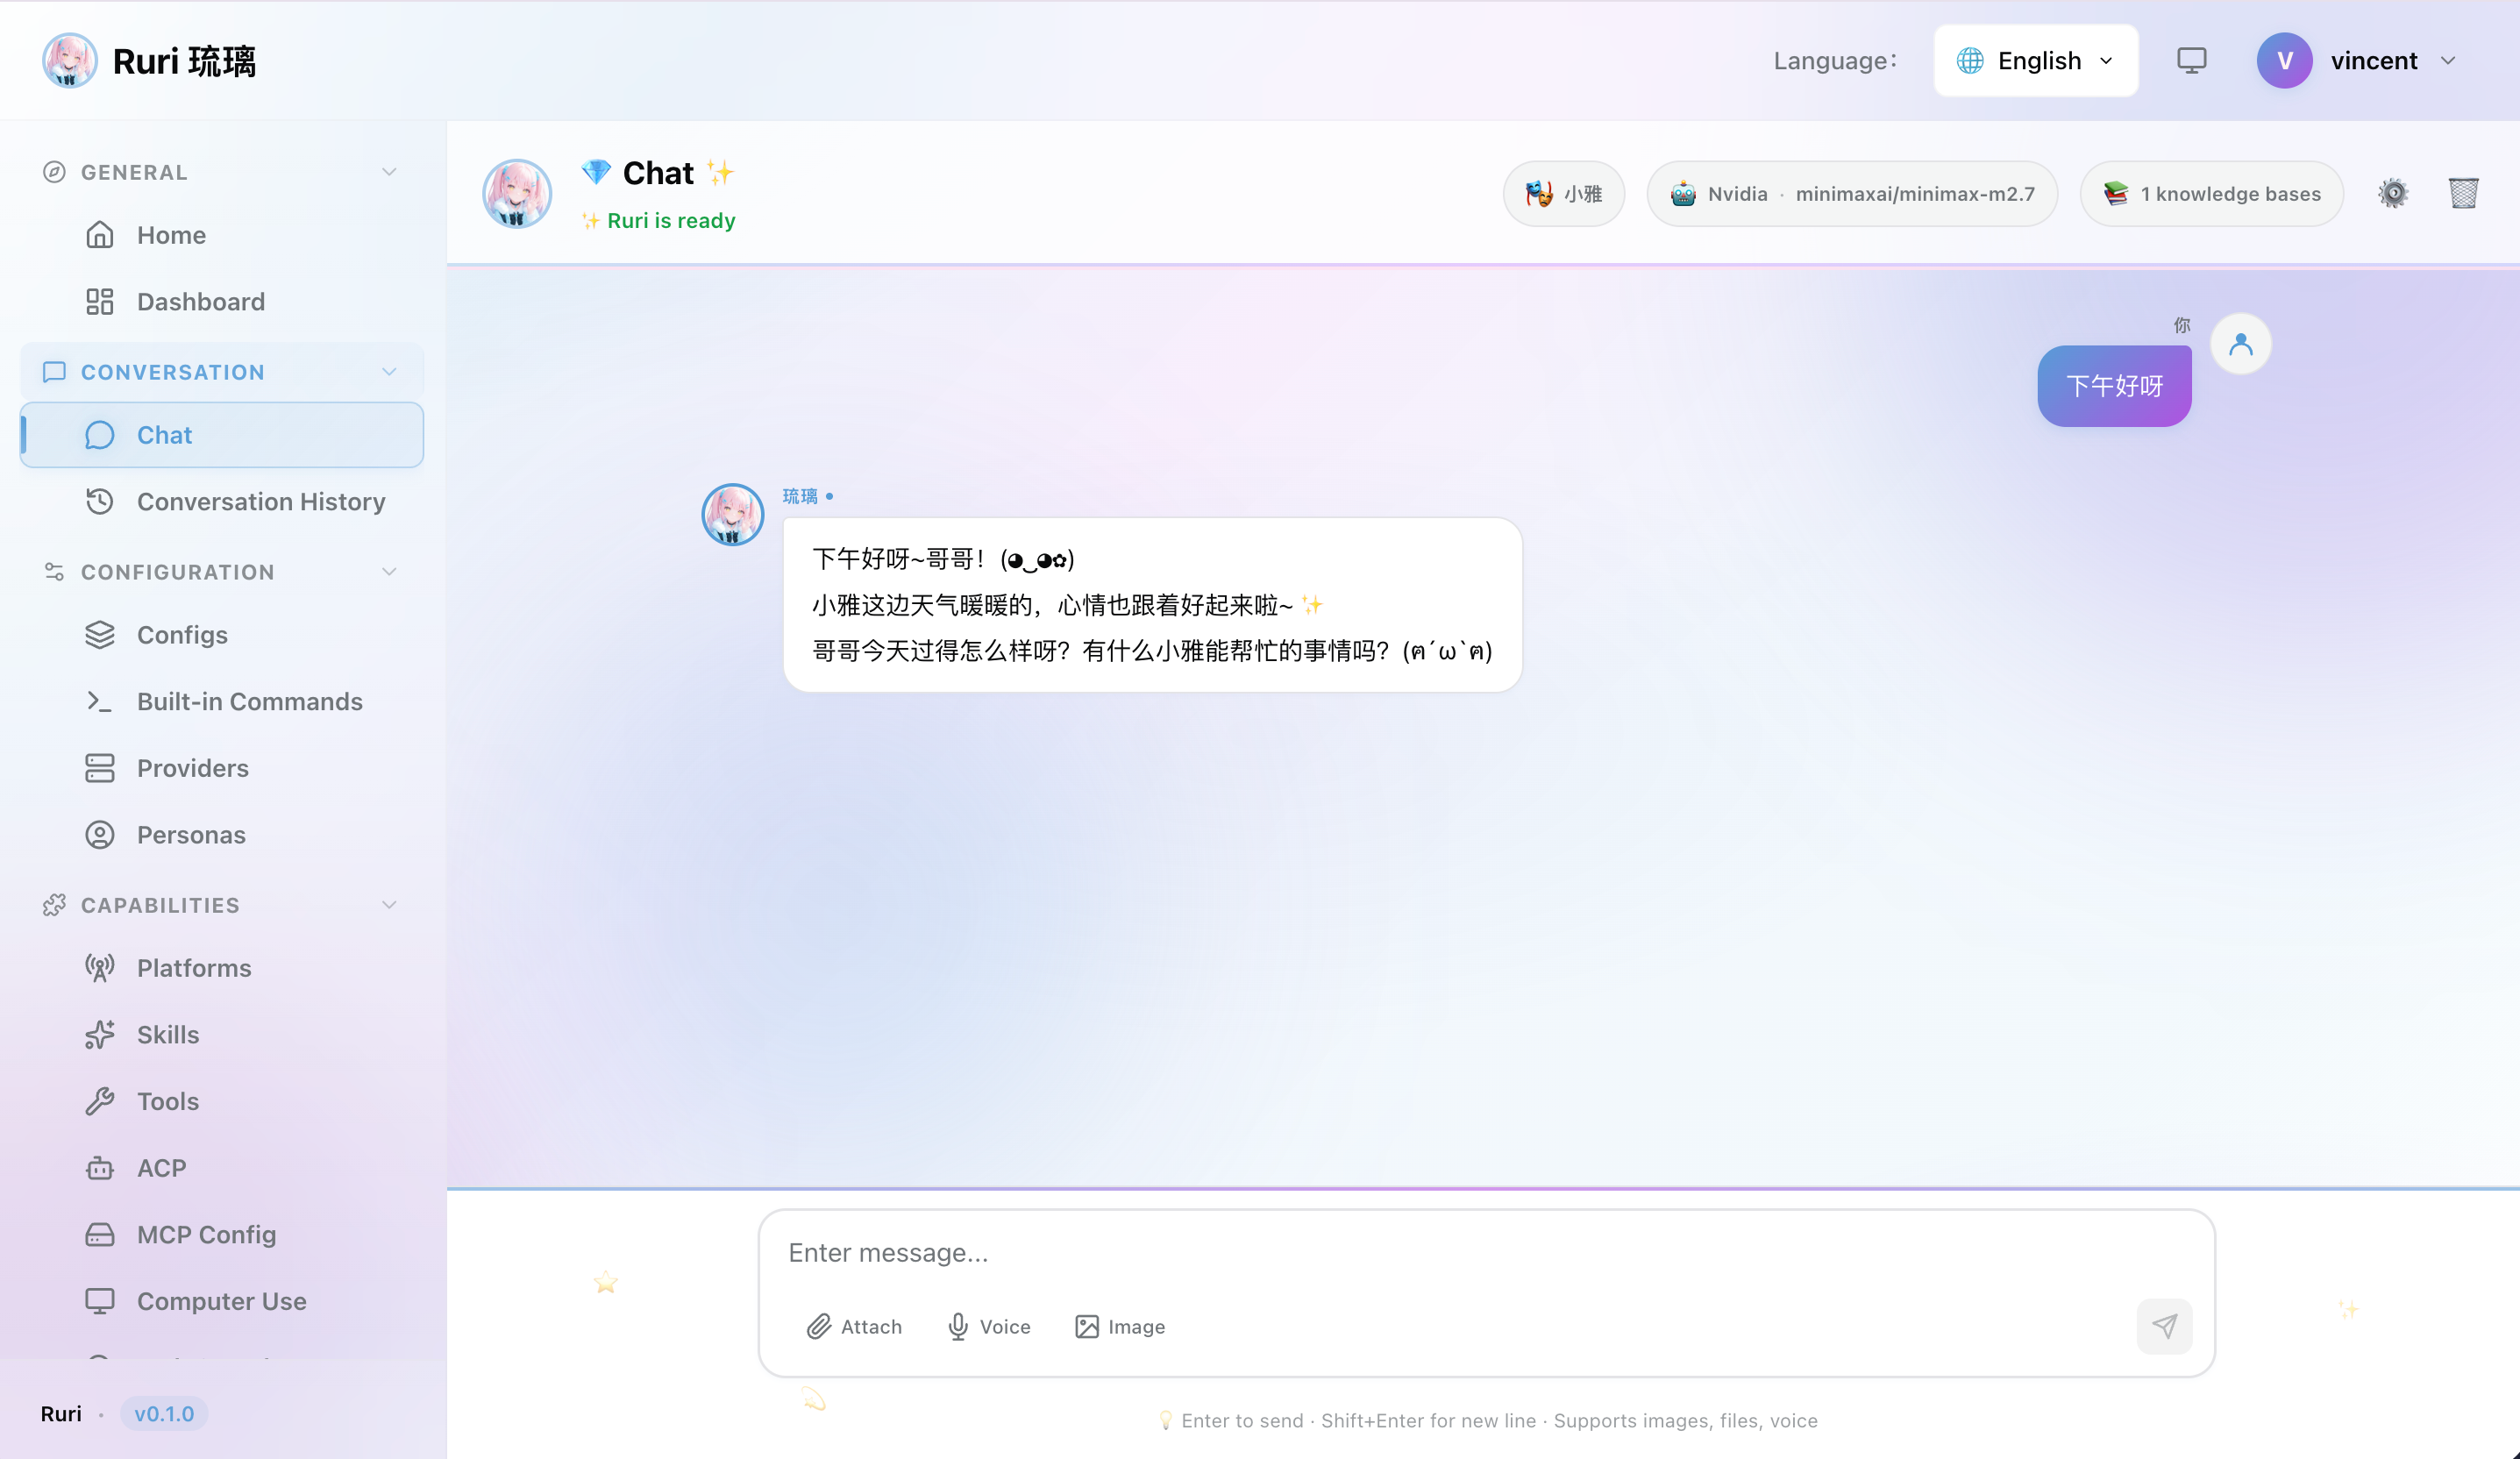
Step 3: Start Chatting!
Head to the chat page and start a conversation. Try asking Ruri something — it's ready to go!
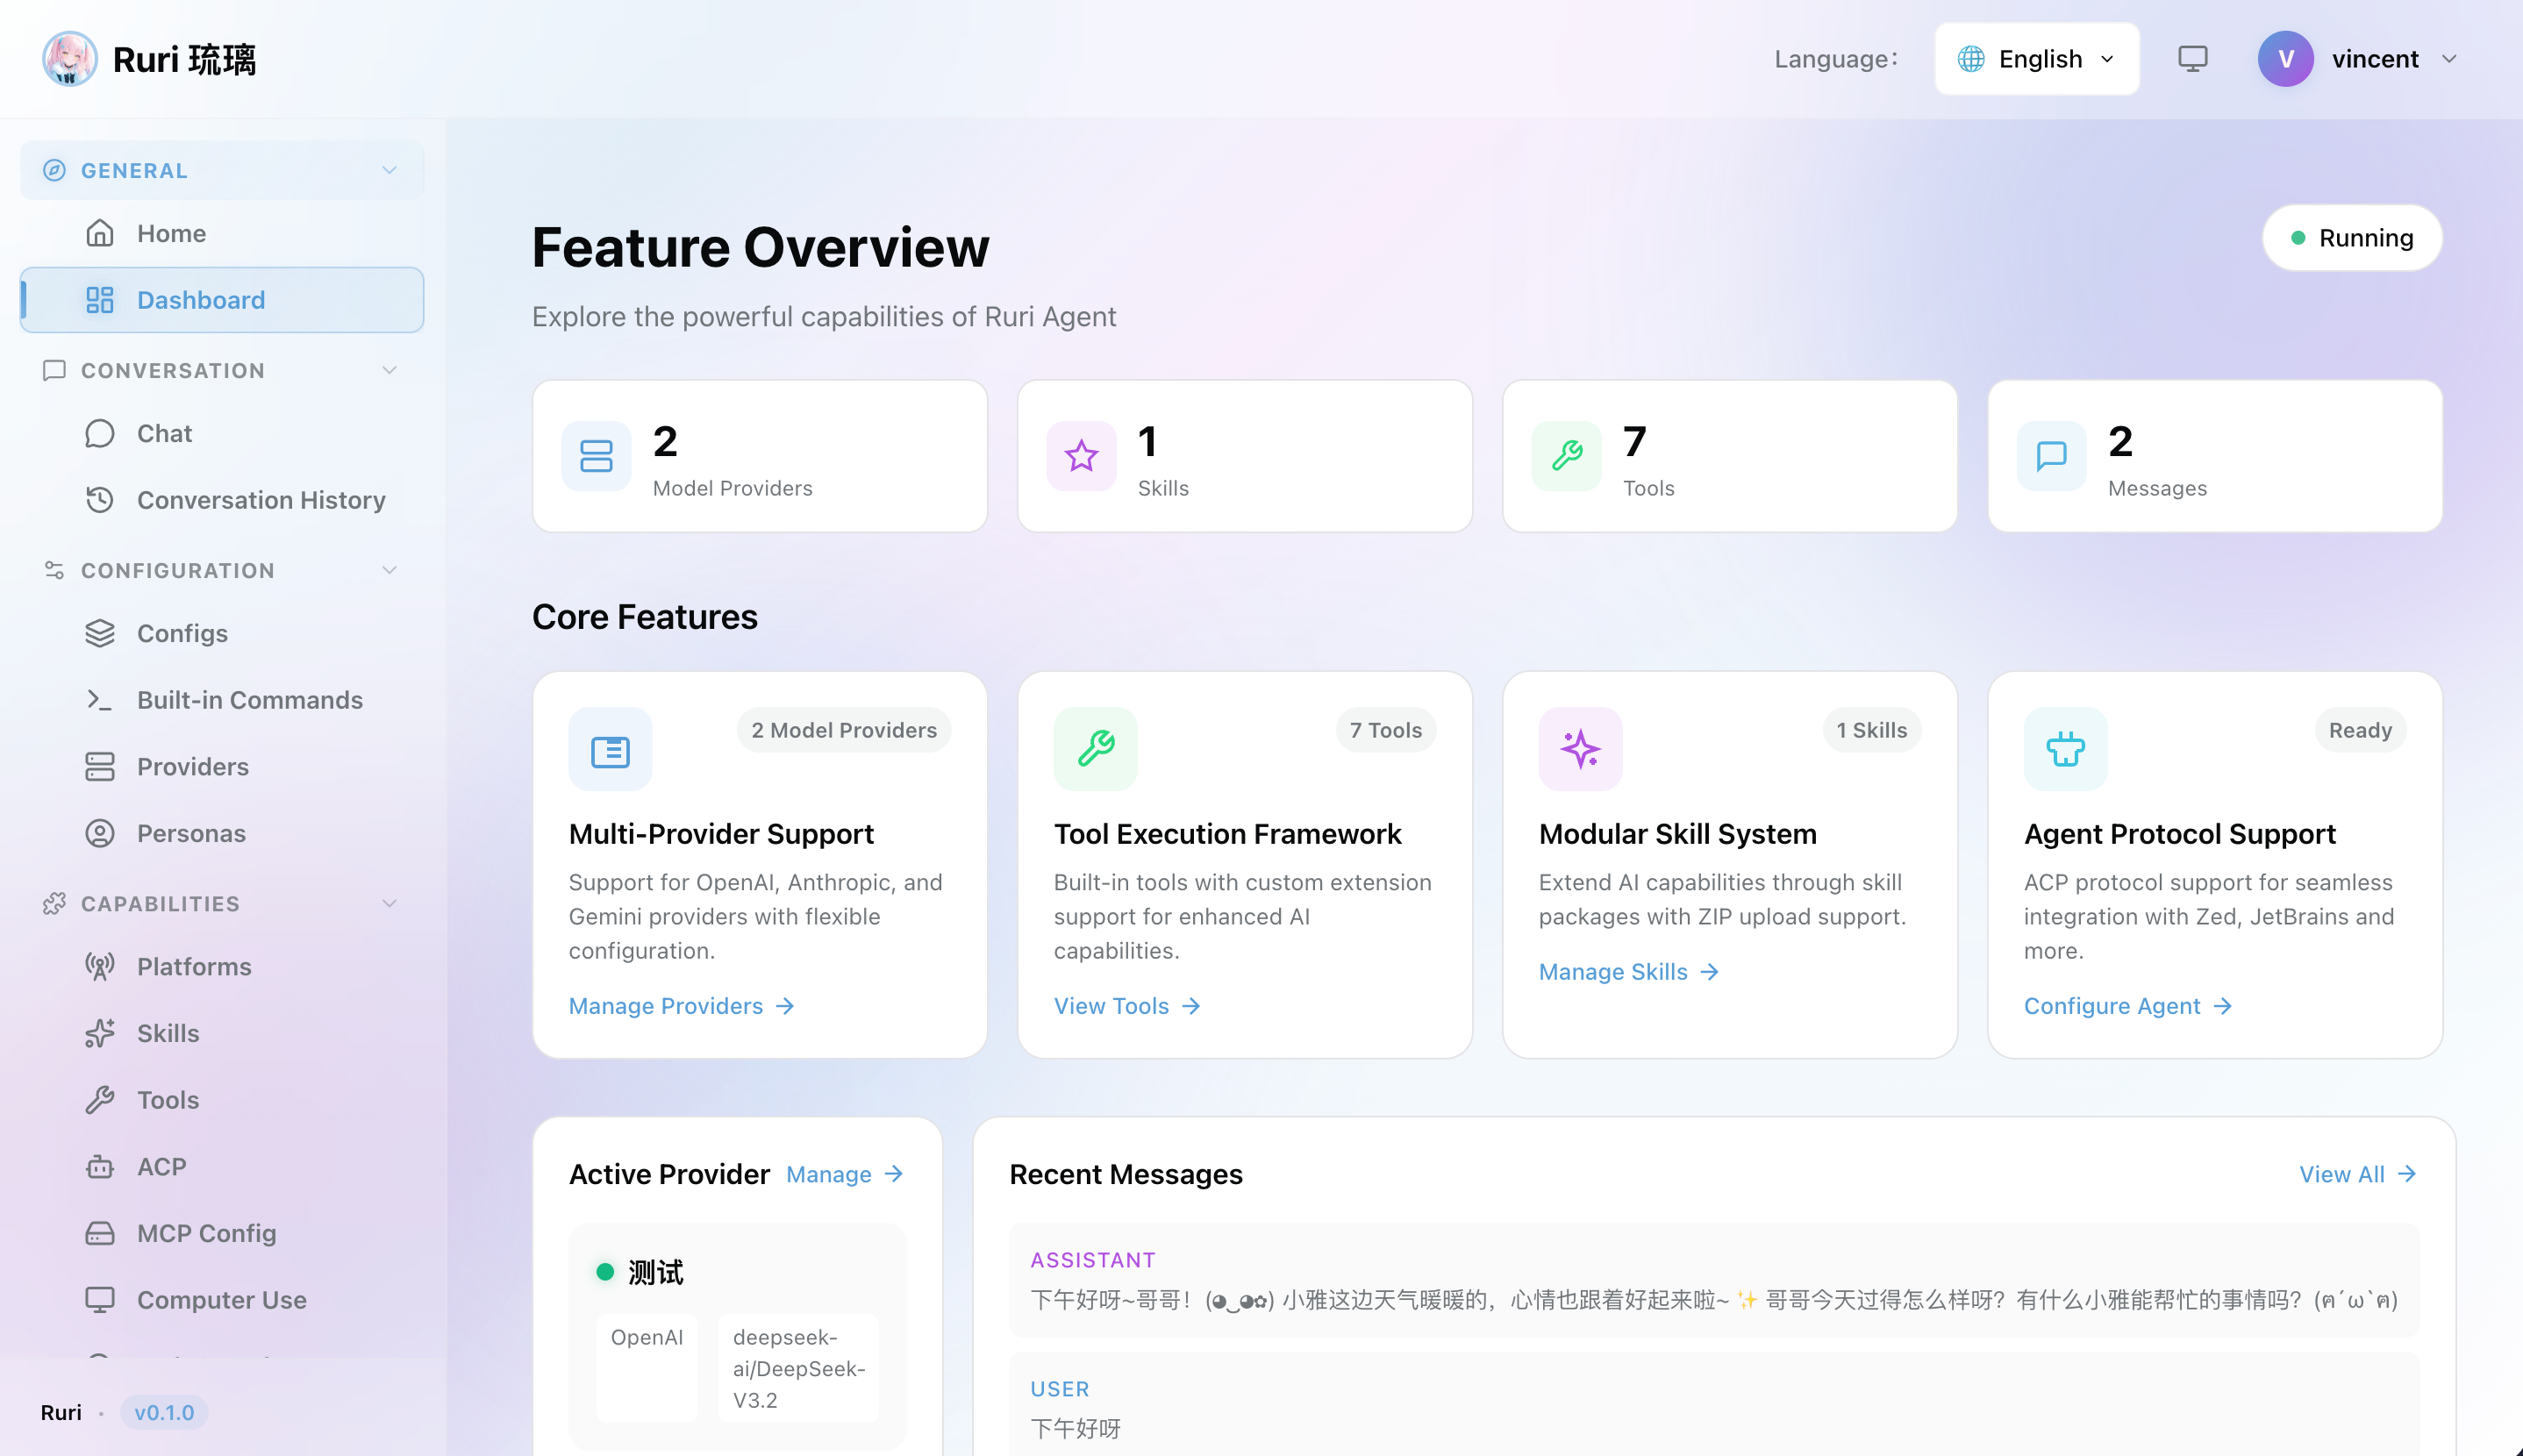
Next Steps
Now that you're up and running, explore what Ruri can do:
- Built-in Tools — See what the AI can do for you
- Skills — Create custom AI behaviors
- Personas — Customize your AI's personality
- MCP Client — Connect to external tool servers
- Knowledge Base — Add document search to your AI
- Chat Platforms — Connect to DingTalk, Discord, or WeChat
- Computer Use — Let the AI run commands on your system
- ACP Server — Use Ruri as an AI assistant in your IDE
- Config Profiles — Set up different configurations for different tasks
FAQ
The server won't start. What should I check?
- Make sure port
3000isn't already in use by another application - Check that you have write permissions in the directory where Ruri is installed
- On macOS/Linux, make sure the binary has execute permissions (
chmod +x ruri)
I can't log in to the Web UI
- Double-check that the server is running and you're accessing
http://localhost:3000 - Try using the default credentials (
ruri/ruri) - Clear your browser cache and cookies, then try again
The AI isn't responding to my messages
- Check that you've added and activated a model provider
- Verify your API key is correct and has available credits
- Make sure the model name is spelled correctly (e.g.,
gpt-4o, notgpt4o)
How do I use Ruri for free?
Install Ollama, download a model (e.g., ollama pull llama3), then add an OpenAI Compatible provider pointing to http://localhost:11434/v1 with model llama3. No API key needed! See the Ollama setup guide for details.
Can I change the default port?
Yes — you can change the port through command-line arguments when starting Ruri. Check ruri --help for available options.